Go to the Cloud Rental Manager website and start the sign-up process by clicking Try It Now or Client Login (either option can lead you to the login/sign-up page).
Step 2: From the Login Page, Click “Sign Up”
On the login screen, look below the login form for the link that says:
“Don’t have an account? Sign up”
Click Sign up to open the free account creation form.
Step 3: Enter Your Basic Details
On the sign-up page, fill in the required “About You” fields:
First Name*
Last Name*
Business Email*
Then click the button to continue (it may display as Create or similar).
Step 4: Add your Company Details and Create Your Password
Next, complete the account setup fields:
Company Name*
Phone Number*
Password*
Confirm Password*
Make sure your password and confirm password match exactly.
Before you can finish signing up, you must check the box confirming you accept the Cloud Rental Manager Terms and Conditions. After checking the box, click the button to complete sign-up (it may say something like Create Your Free Trial on the screen). Once you submit this step successfully, the system will send you back to the Login page.
Step 5: Login with Your New Credentials and Access the Dashboard
After completing sign-up, you’ll be returned to the Login page.
Enter the Business Email you registered with
Enter the Password you just created
Click Login
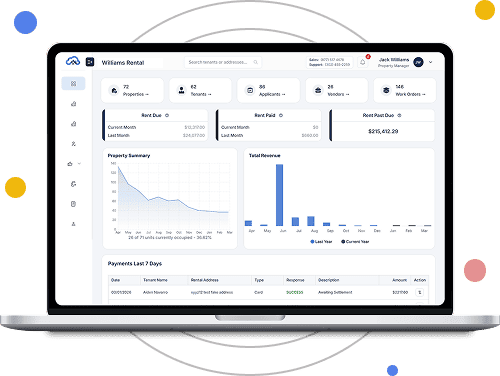
You will then be logged into the Cloud Rental Manager Dashboard, where you can start using the system. After you’re logged into the Dashboard, you can:
We use cookies to ensure that we give you the best experience on our website. If you continue to use this site we will assume that you are happy with it.